
A floating bathroom vanity installation is decided before the finished wall hides the support and services. Freeze the finished-floor datum, backing zone, mounting system, basin and drain models, shutoff access, drawer travel and the person responsible for each item on one coordinated sheet before cabinet production begins.
The wall-hung look can make a bathroom feel lighter, but the missing legs also remove an easy way to compensate for an uncertain wall. A cabinet drawing alone cannot prove that the partition can accept the fixing pattern, that the drain clears the top drawer or that the finished basin height meets the project brief.
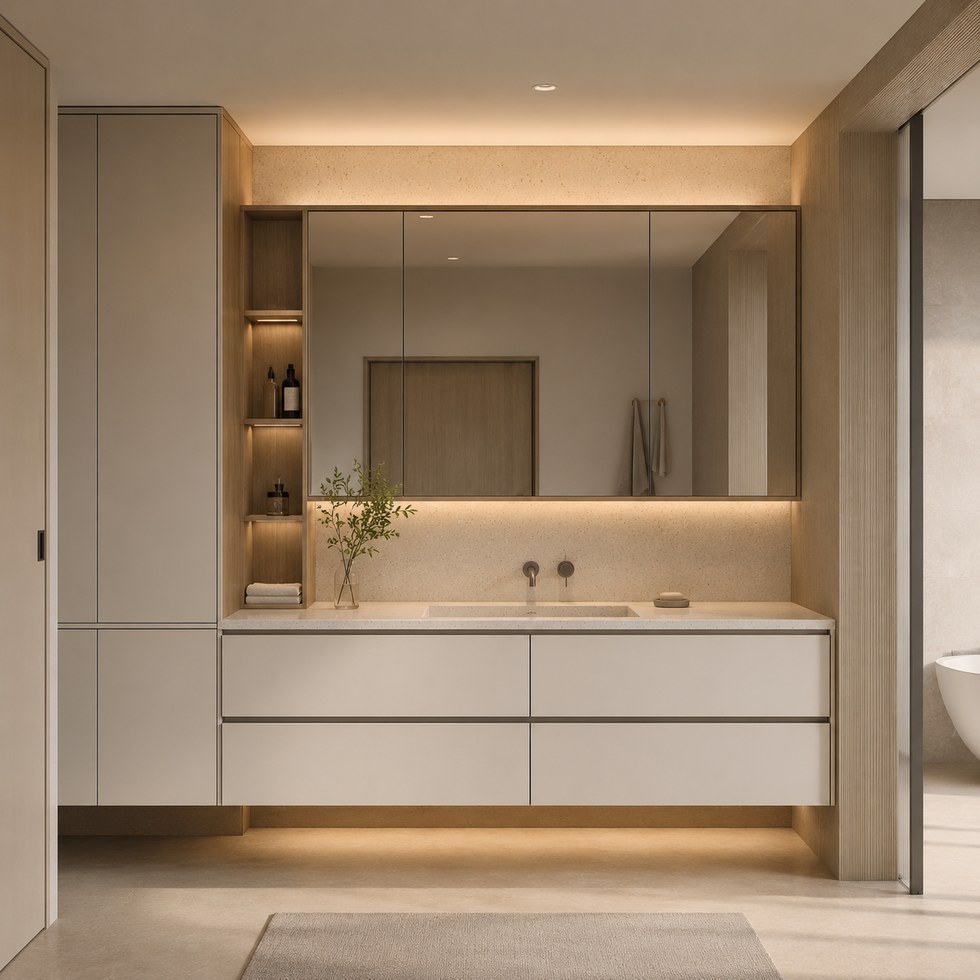
VSME product image. The finished composition shows the visible result; wall backing, service routes and fixing ownership still need separate project confirmation.
Do not release a nominal “850 mm vanity” until the drawing states what that number measures: finished floor to cabinet top, countertop, basin rim or another reference. Record floor build-up and any level change between the survey and final tiling. Then add the basin thickness, countertop build-up and mounting-rail offset as separate dimensions. This prevents several individually correct numbers from producing the wrong final height.
Accessibility requirements are project conditions, not styling suggestions. Where the U.S. 2010 ADA Standards section 606 applies, a lavatory or sink needs forward clear floor space with knee and toe clearance, the higher of the rim or counter is generally limited to 34 inches (865 mm), and exposed pipes require contact protection. Those clauses do not turn 865 mm into a universal residential vanity height. The UK government's Approved Document M Volume 2 uses its own coordinated sanitary-accommodation framework for washbasin arrangement, activity space and operable taps. The project team must establish the applicable jurisdiction, user needs and exceptions before setting dimensions.
Ask for the wall build-up in layers: finish, board or plaster, stud or masonry structure, backing, waterproofing zone and any service cavity. Identify where the mounting rail or brackets land and who selects anchors for the actual substrate. A generic screw note cannot cover timber studs, light-gauge metal framing, blockwork and a thick tiled build-up.
A current KOHLER vanity installation guide tells installers to secure its model to two or more studs or added 2x6 support, plan supply and drain routing, and verify the finished wall is straight and plumb. A separate KOHLER wall-hung vanity guide uses temporary support during positioning and aligns pilot holes with bracing or stud framing. These are model-specific instructions, not a universal prescription for every vanity. Their value is showing which questions must be answered by the chosen system before the wall closes.

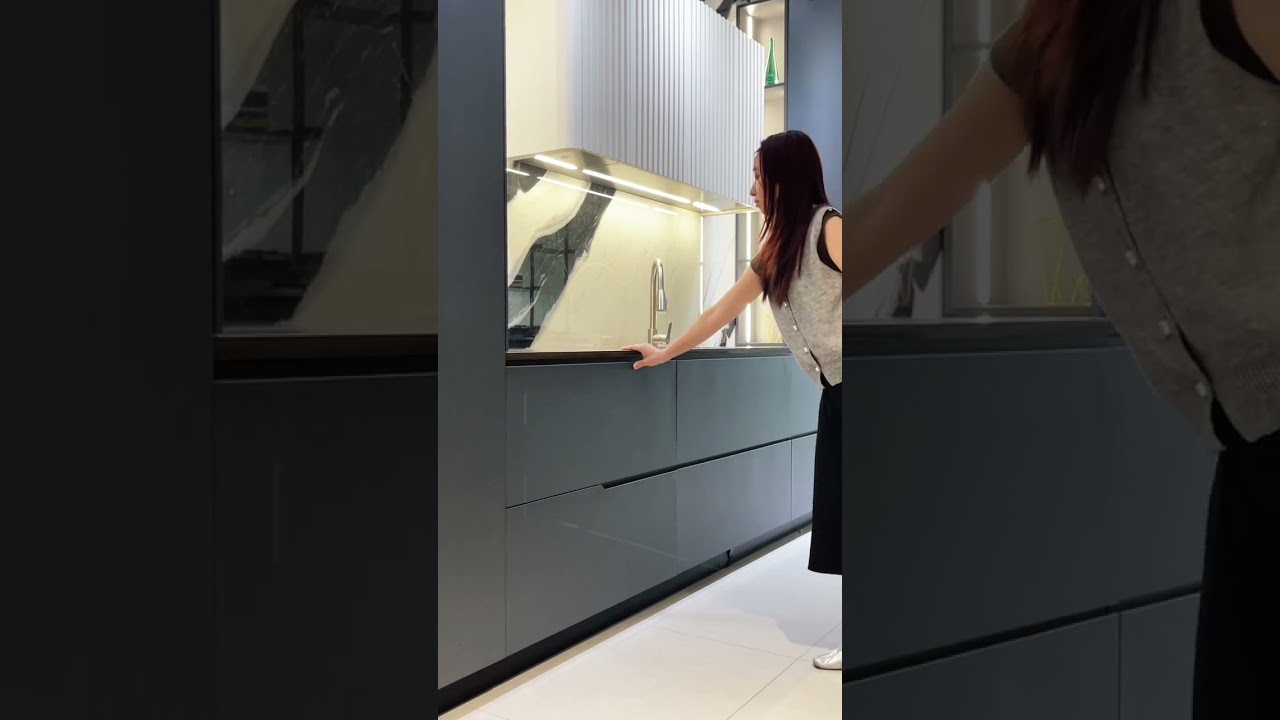
VSME cabinet-factory photo. Machining can follow an approved fixing and service drawing, but this image does not prove the capacity of a particular site wall.
A water or drain centreline is not enough for a drawer cabinet. Draw the trap, elbows, flexible connections, shutoff valves, tool access and the hand movement needed for maintenance as volumes. Add the drawer box in its fully closed and fully open positions. A drain that misses the cabinet centre may still strike a drawer back; a valve that fits behind the cabinet may be unreachable after the basin is installed.
Sanitary components can change the answer. The Geberit iCon cabinet entry requires a compatible space-saving washbasin connector and describes a drawer cabinet without a conventional trap cutout. That does not mean every project should use the same product. It demonstrates why the final basin, waste and connector references belong on the cabinet release drawing rather than in a later plumber’s substitution.
Where a mirror, socket, illuminated cabinet or optional electrical strip is included, place the electrical zone on the same elevation. The cited KOHLER wall-hung guide requires its optional electrical accessory to use a GFCI- or RCD-protected circuit. The project electrician still owns code compliance and final connection.
Put the coordination into one signed table. A green cell means an identified drawing or model supports the answer; amber means a named party and due date exist; red means production release stops. Avoid writing “by others” without naming the party and the deliverable.
| Layer | Evidence to attach | Named owner |
|---|---|---|
| Datum and height | Finished-floor level, basin rim, counter and cabinet references | Designer or project lead |
| Wall support | Wall build-up, backing extent, rail pattern and anchor specification | Structural or site contractor |
| Water and waste | Final models, rough-in elevation, trap envelope and shutoff access | Plumber and designer |
| Cabinet interface | Back-rail or bracket detail, cutouts, drawer travel and removable access | Cabinet supplier |
| Installation acceptance | Level, fixing record, sealant boundary, service test and adjustment access | Installer and project lead |
Run one open-state check after the services are plotted. Extend every drawer, open adjacent doors and show the path to the trap and shutoffs. Confirm that a removable panel can actually leave the cabinet after the basin and wall finishes are in place. If a service part can be reached only by removing a fixed countertop, the coordination is not complete.
Also test the installation sequence. Can the cabinet be lifted onto its rail without striking a tap body or mirror? Can temporary supports sit on the finished floor without blocking the fixing line? Is there room for the installer’s drill and torque tool? A neat elevation can conceal an impossible hand movement.
The supplier can match cabinet IDs to drawings, confirm the mounting rail or bracket is present, check back-panel openings against the approved service template, assemble drawers and verify their travel. Representative preassembly can expose an interference before packing. It cannot certify an unseen wall, choose site anchors without substrate information or replace the local installer’s responsibility for code-compliant work.
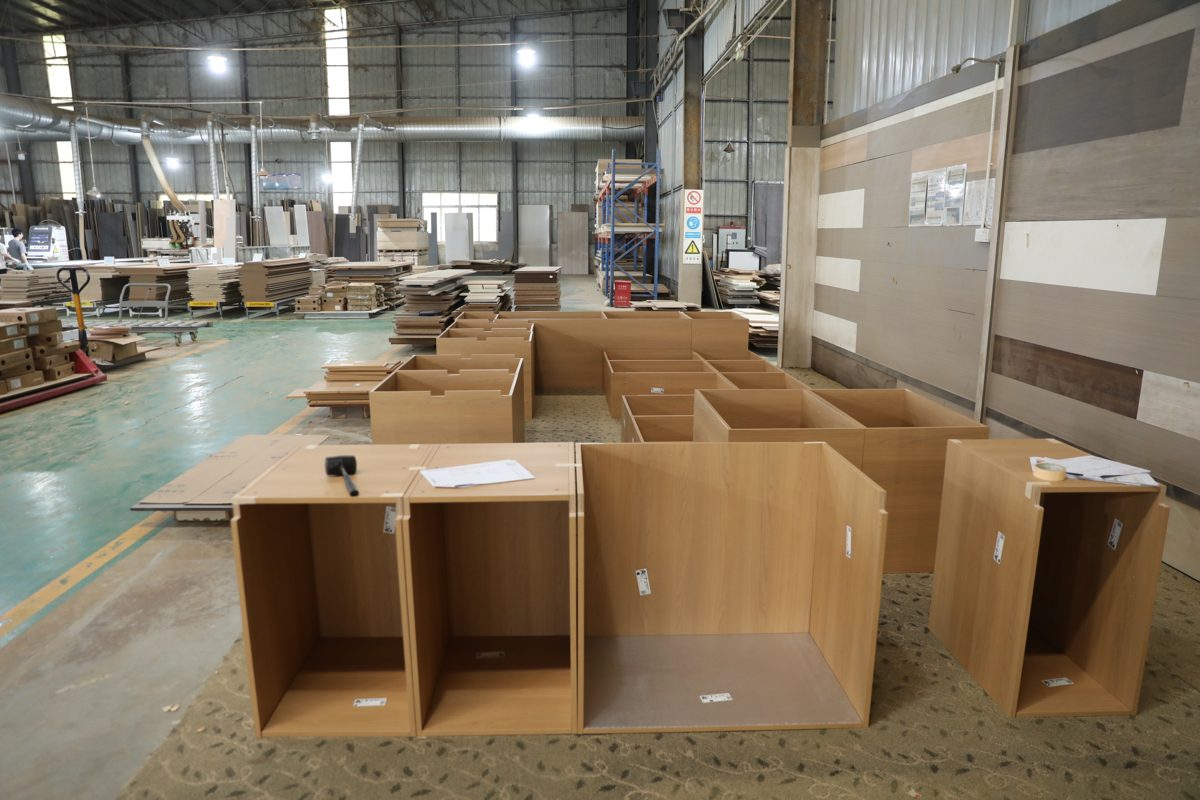
VSME cabinet-factory photo. This is manufacturing-stage evidence from a general cabinetry line, not a photograph of the bathroom vanity shown above or proof of a site installation.
When requesting a custom vanity, use the VSME bathroom vanity range to define the product scope, then attach the project’s readiness sheet rather than relying on the product image alone.
A signed sheet is useful because it makes uncertainty visible. If the wall type is still unknown, the basin model may change or the accessible clearances have not been reviewed, keep the affected cabinet dimensions and drilling on hold. Closing those items before cutting is cheaper than asking an installer to move plumbing through a drawer or find structure behind finished tile.
Send the finished-floor datum, wall build-up, backing drawing, basin and waste references, plumbing elevation and named installation owner with the vanity enquiry. The team can then coordinate the cabinet around confirmed interfaces instead of guessing what is behind the wall.
Related guide: If you are furnishing several rooms, see how a whole-house cabinetry order works.