
Good pantry cabinet planning starts with the things your household actually stores—not with an empty elevation divided into equal shelves. Record package size, quantity, weight, use frequency and storage conditions first. Then assign each group to a reachable zone and leave adjustability where the inventory is likely to change.
A tall pantry cabinet often appears efficient because it fills the wall vertically. The problem usually arrives later: cereal boxes do not fit, small jars disappear behind one another, a mixer sits above shoulder height, or cleaning products share a shelf with food. These are not styling problems. They are information problems that should be resolved before the cabinet drawing is approved.
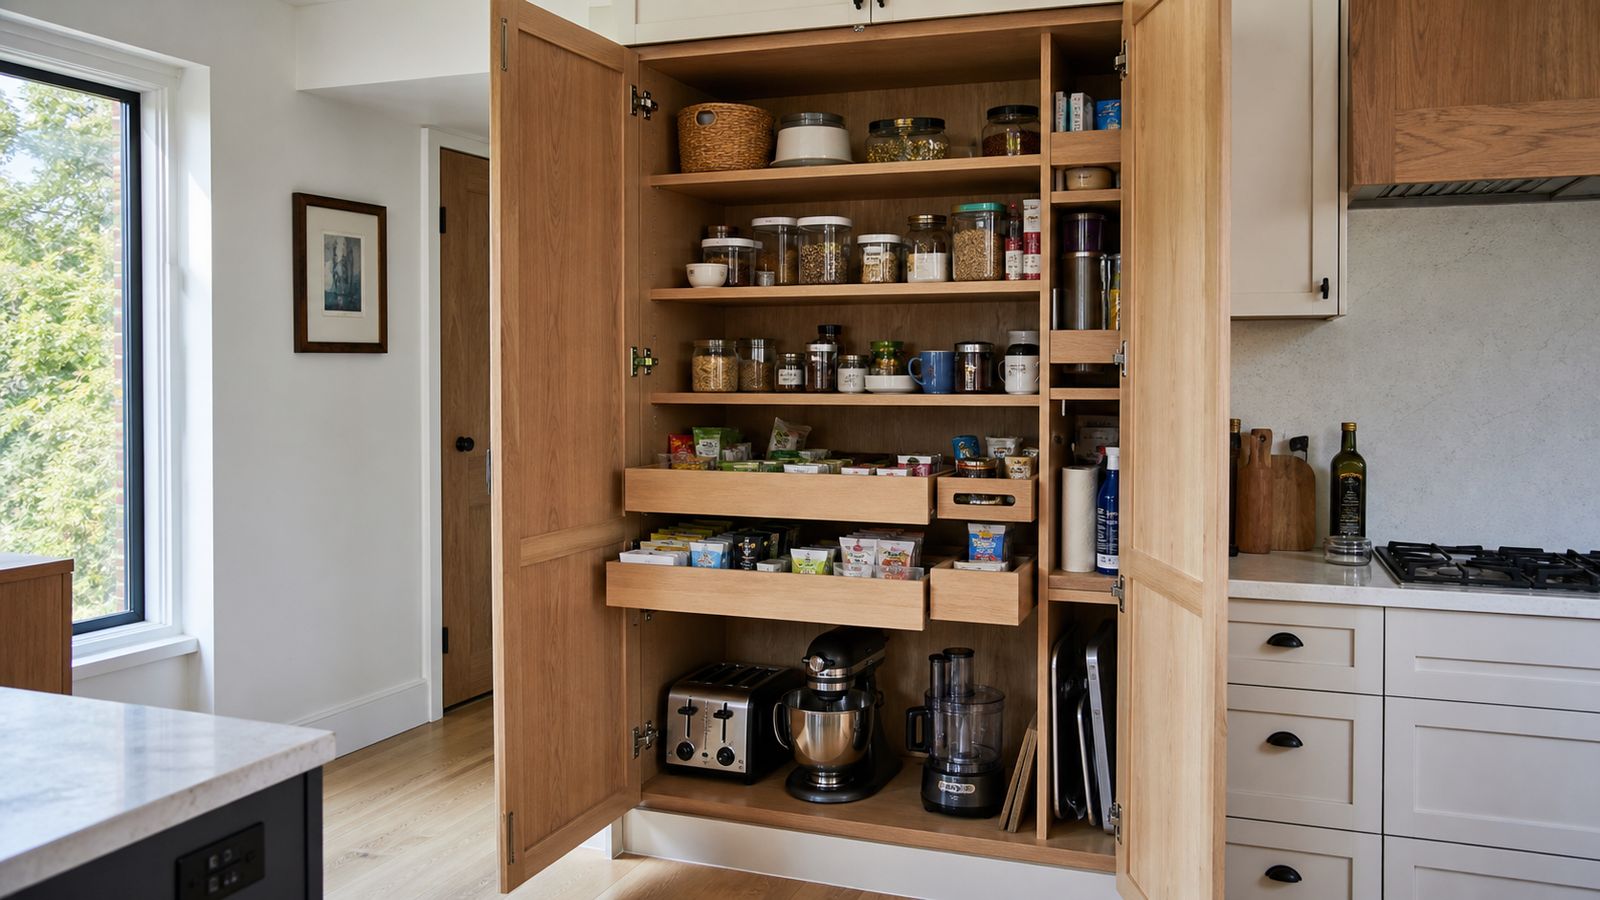
AI-assisted planning illustration, not a completed VSME client project. The useful idea is the visible hierarchy: everyday items at hand, packets in pull-outs, appliances low and trays vertical.
For one normal week, note what enters and leaves the pantry. Group the list by behaviour rather than supermarket aisle: breakfast items used daily, cooking staples, baking supplies, snacks, unopened reserves, drinks, small appliances, serving pieces and non-food exceptions.
For each group, record six fields: largest package height, package depth, usual quantity, approximate weight, access frequency and any storage condition printed on the label. Photographing the tallest bottle and deepest appliance beside a tape measure is often more useful to a cabinet designer than sending a product name alone.
The inventory is not a promise that the pantry will never change. It is a baseline. Mark seasonal or uncertain groups so their shelves remain adjustable instead of locking every opening to today's package.
Place daily items where the intended user can see and retrieve them without a step stool or deep bend. The NKBA kitchen planning guidance recommends locating frequently used items between 15 and 48 inches above the floor as a planning reference. The U.S. Access Board uses the same 15-to-48-inch band for an unobstructed adult reach in its accessibility provisions, while permitting additional storage outside the accessible range. These references are not a universal residential rule; they are a useful warning against putting every important item at the top of a tall unit. See the NKBA kitchen planning guidelines and review the Access Board reach provisions.
Use the top zone for light, infrequent stock. Use the middle zone for daily food. Reserve the lowest stable zone for heavy appliances, bulk bottles or baskets that can be lifted without reaching overhead. If children or a person with limited reach will use the pantry, design from that user's actual reach and local access requirements rather than copying a generic dimension.
“Baking shelf” is not a dimension. A shelf holding flour bags, a stand mixer and sheet pans needs three different geometries. Write the largest real object in each group into the schedule and add handling space only where fingers, lids or pull-outs need it.
Equal shelf spacing is easy to draw but often creates air above short jars while forcing tall bottles elsewhere. A better tall pantry cabinet may combine shallow eye-level shelves, deeper lower pull-outs, one vertical tray bay and two or three adjustable shelf zones. The cabinet supplier then knows which holes, runners, partitions and door-clearance conditions belong in the shop drawing.
| Inventory group | Record before drawing | Likely storage response |
|---|---|---|
| Daily jars and packets | Quantity, label visibility, refill cycle | Shallow shelf or pull-out in the primary reach zone |
| Tall bottles | Cap height, diameter, weight | Adjustable shelf with stable side support |
| Small appliances | Width, depth, weight, cord and lifting path | Low shelf or pull-out rated for the intended load |
| Trays and boards | Largest height and thickness | Vertical dividers with a usable hand opening |
| Reserve stock | Case size, refill date, access frequency | Upper or secondary zone, kept visible enough to rotate |
A pantry is for shelf-stable goods, not a substitute for refrigeration. Follow the package instructions first. FDA guidance also advises checking cans for swelling, leakage, severe rust or damaging dents and keeping food away from household chemicals. Read the FDA storage guidance.
University of Minnesota Extension describes pantry storage as cool, clean and dry, warns against damp or temperature-extreme locations, and recommends rotating older canned and dry goods forward. WHO emergency guidance similarly emphasizes protection from moisture and direct sunlight. Those principles affect cabinet location and operation: avoid placing the only dry-food pantry against a known damp service zone, make crumbs and spills reachable for cleaning, and do not design a deep shelf where older packets cannot be seen. Review the Extension pantry guidance.
Four groups deserve an explicit exception decision: very heavy objects, unusually tall packages, chemicals or cleaning supplies, and items that need ventilation or power. A narrow broom compartment, appliance garage or separate utility cabinet may solve these better than stretching the pantry around them.
Also test door and pull-out conflicts. A pantry beside a refrigerator, wall return or island may look acceptable when closed but lose useful access when two doors open together. Record the door swing, handle projection, pull-out travel and standing position on the plan.
The final hand-off should be a numbered elevation plus a short schedule. For each zone state the intended contents, clear internal width and depth, minimum or adjustable shelf interval, pull-out type, expected load category, door or hinge restriction and who confirms the hardware selection.
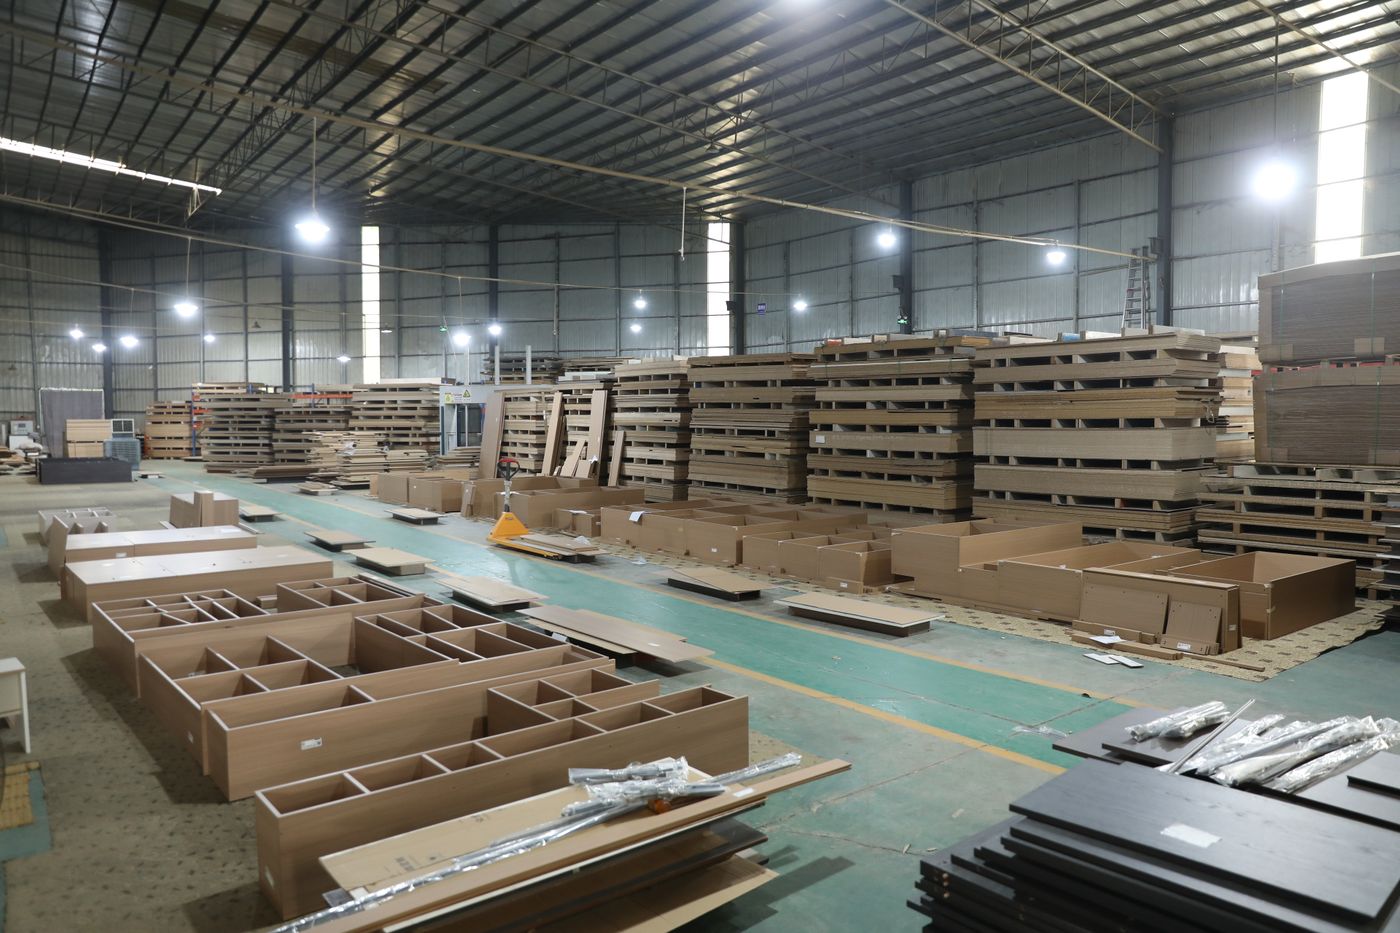
VSME factory photo. A useful pantry schedule must survive the change from a design idea to numbered panels, shelves, dividers and hardware groups.
Ask for adjustable-shelf hole positions to appear on the shop drawing, not only in a verbal note. Confirm whether internal dimensions are clear dimensions after hinges, runners and door hardware are installed. If the pantry is part of an overseas order, include the final shelf and hardware groups in the packing identity.
Print the elevation and try to place every inventory group into it. Circle anything without a home. Then test three changes: a larger cereal box, one additional countertop appliance and a bulk purchase. If the plan fails all three, it is probably too rigid.
Use the kitchen cabinet RFQ checklist to carry the pantry schedule into a comparable quotation, and review the broader VSME kitchen cabinet scope when coordinating it with the rest of the kitchen. The pantry decision should remain visible from inventory to drawing, quotation, production and installation.
Send the pantry inventory, largest package and appliance dimensions, user reach needs and kitchen plan—not only a reference photo. Those four inputs are enough to begin a cabinet schedule that can be checked before production.
Related guide: Who we are, our minimum order and lead time: VSME company facts.