
Cabinet door clearance is a moving-volume problem. A closed elevation shows alignment, not operation. Draw the front, handle and hardware through the closed, 90-degree, maximum-open and service-removal states, then overlay those shapes against walls, adjacent fronts, worktops, appliances and the user aisle.
The easiest collision to miss is often the one hidden by a beautiful render. A tall door can meet a wall before its hinge reaches the intended angle. A wide drawer can clear the cabinet beside it yet block a dishwasher door. A handle can touch first even when the front itself appears safe. The approval drawing therefore needs motion, not only rectangles.
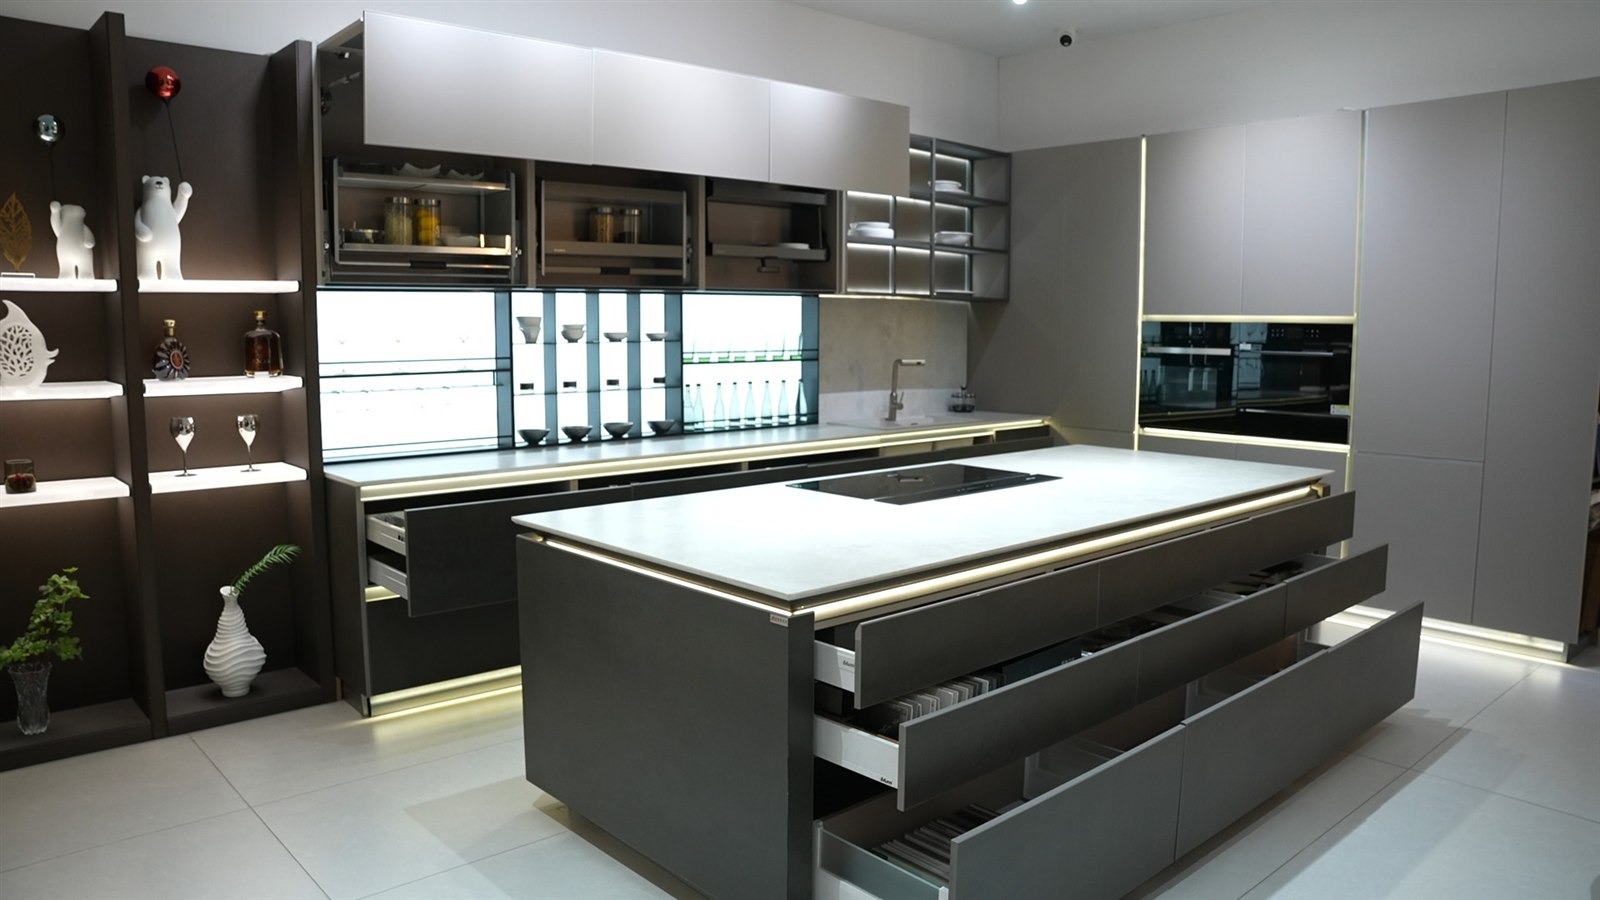
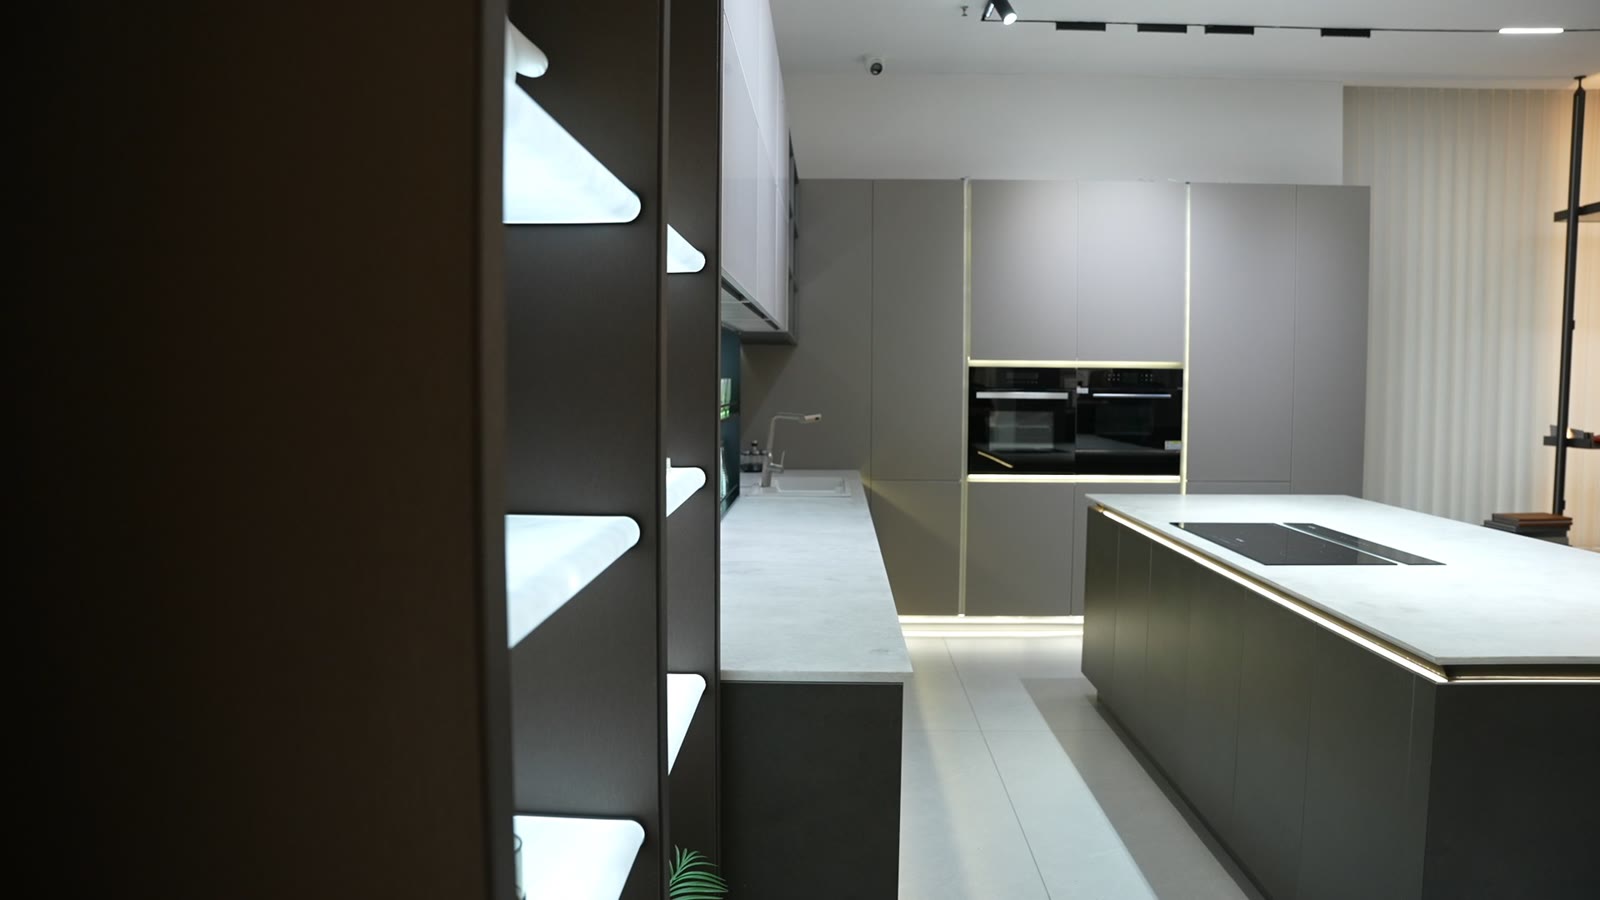
VSME showroom video frame. Multiple fronts are visibly open in one kitchen, making their occupied space legible. The image does not identify hinge models, opening angles, measured clearances or a controlled load test.
The open-state photograph changes the question. Instead of asking whether the fronts align, ask which spaces become unavailable when each front moves. Mark the standing zone at the sink, the passage beside the island, the place where a person loads an oven, and the floor area needed to remove a drawer or appliance filter. Two parts do not need to touch to create a bad result; one moving part can simply remove the space another task needs.
This observation is not a dimension. The camera angle can exaggerate or hide distance, and the open fronts may not be at their final stops. Use the photograph to identify relationships worth drawing, then use the selected hardware data and project measurements to decide them.
Start with the closed state because it fixes the intended gaps and alignment. Add the 90-degree state because many wall, handle and neighbouring-front conflicts appear there. Add the maximum-open state because internal access, pull-out removal and wide-angle hinges may need it. Finally, add the service-removal state: the extra space required to lift a drawer off its runners, remove a shelf, extract an appliance tray or reach the hinge adjustment.
Do not use one generic arc for every door. Blum's 155-degree hinge planning page shows model-specific front protrusion at 90 degrees, gap calculation and opening-angle stops, and recommends a trial application for an overlay front against a wall. Its values apply to that hardware family. The project lesson is that the chosen hinge, front thickness, overlay and mounting geometry must generate the envelope.
The moving edge includes the front thickness, handle or finger-pull projection, applied moulding, glass frame, hinge arm and anything attached to the inside. For drawers, include the box, gallery rail and contents that must be lifted out. For appliances, include the manufacturer door and rack movement plus the hand space needed to operate them. A handle can become the governing point even when the painted front clears.
ANSI/AWI 0641 architectural wood casework requirements state that reveal-overlay hinged-door reveal is determined by hinge clearance requirements and coordinate the sizing and alignment of doors and drawers. The standard does not replace a residential kitchen hardware drawing; it reinforces the distinction between a visual gap and the clearance demanded by the operating mechanism.
Check wall-side fronts first, then inside corners, adjacent perpendicular runs, tall-unit and worktop edges, appliance doors, paired doors and opposing island drawers. Add the person last—but do not omit them. A technically collision-free drawer can still leave no practical standing space or escape route when another front is open.
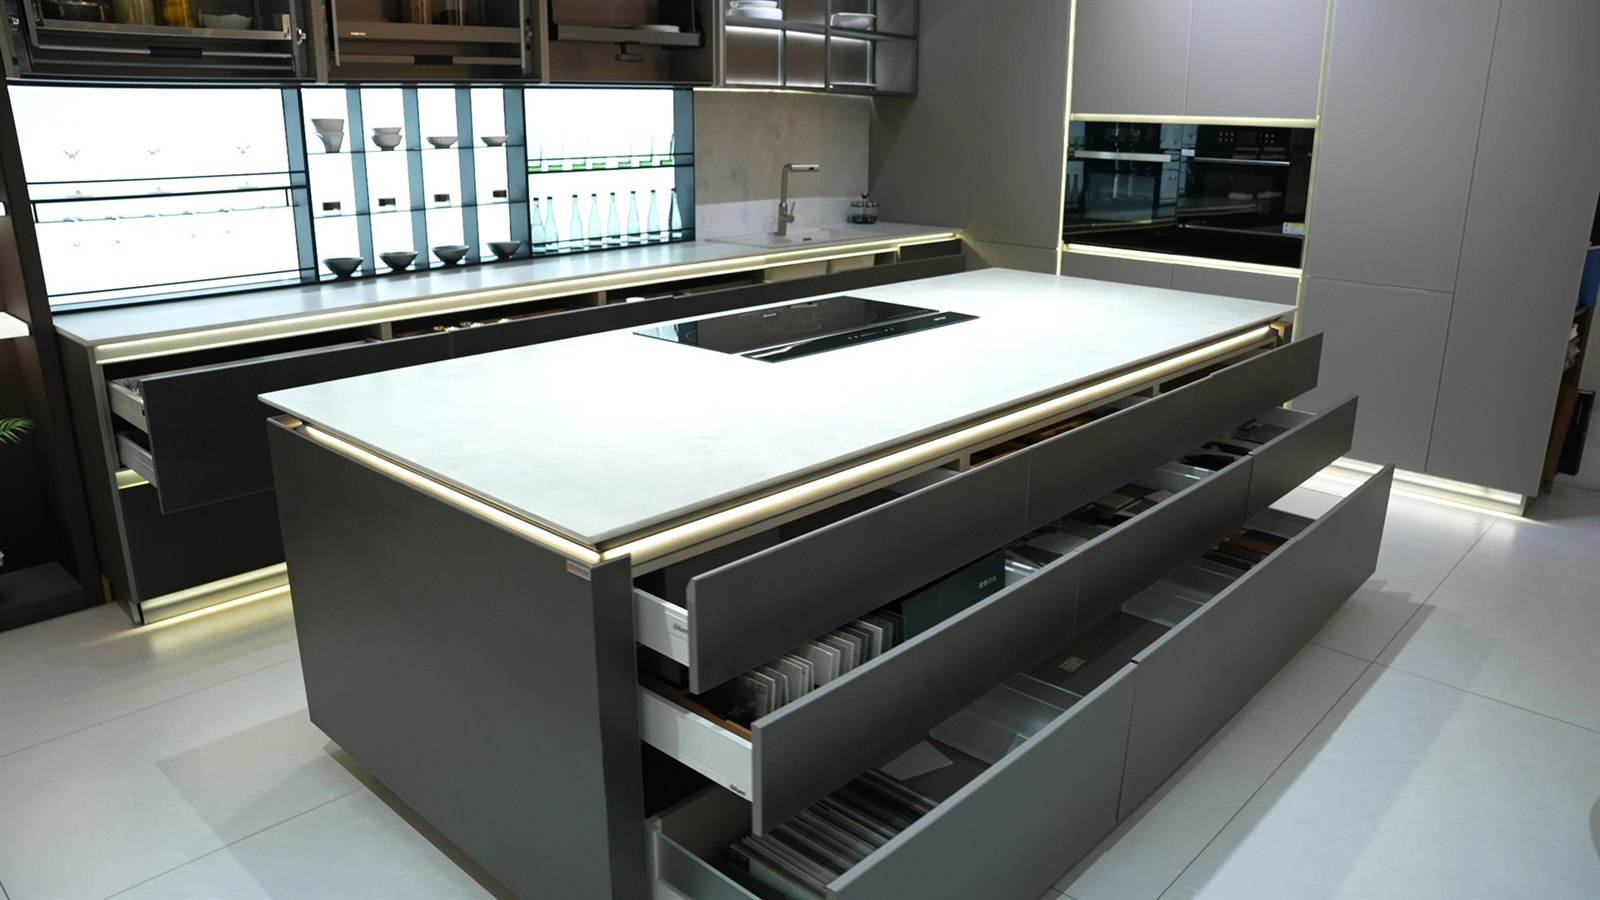
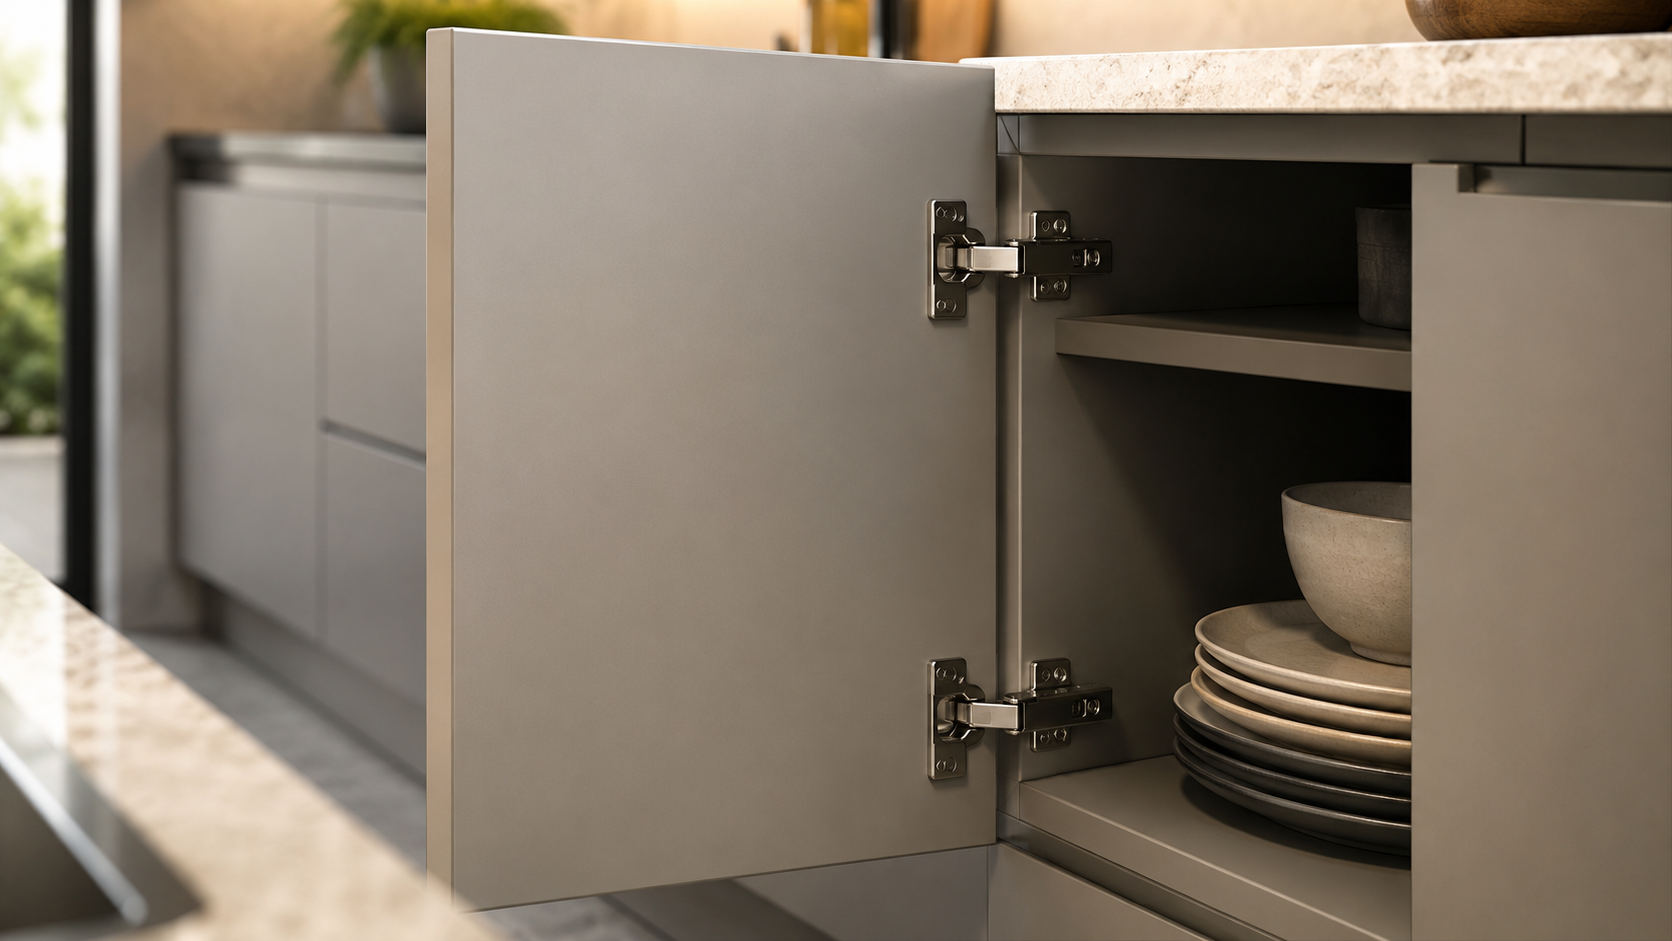
VSME showroom video frame from the same kitchen. Extended island drawers visibly occupy part of the aisle; the photograph illustrates the interface but does not establish the aisle width, runner travel or compliance.
The closer frame shows why the plan view needs the whole drawer depth. A front elevation can record drawer height and rhythm while omitting the space the open box occupies. The same drawing should show what happens when the opposite run, an appliance or another island drawer is open at the same time.
Counterexample: a wall-side tall door clears the plaster when opened to 90 degrees, so the filler is reduced for a cleaner elevation. The selected internal pull-out, however, can only be removed when the door opens beyond 90 degrees. The cabinet passes the daily-opening check but fails the service-removal state.
A filler is not a fixed styling number. It may need to absorb wall deviation, handle projection or a hinge opening requirement. ANSI/AWI 0620 installation requirements allow an inside-corner filler to be wider when hardware operating clearance requires it. The actual value still comes from the selected front and hardware, not from the standard alone.
The IKEA kitchen installation guide similarly links wall-side filler pieces with enough space for doors and drawers to open fully. Treat that as manufacturer-system guidance. For a custom kitchen, preserve the principle while recalculating the envelope for the real hinge, handle, wall finish and internal fitting.
Place this register beside the plan and the front-off cabinet elevation. Every row should point to a drawing state and a real hardware record.
| Moving part | States to overlay | Intersection to resolve |
|---|---|---|
| Wall-side door | Closed, 90°, stop and removal | Wall finish, handle and internal pull-out |
| Corner fronts | Each front alone and both together | Handle, hinge edge and neighbouring front |
| Drawer or pull-out | Closed, full travel and lift-off | Opposing cabinet, appliance and user aisle |
| Appliance door | Operating, rack-out and service state | Plinth, cabinet front and standing zone |
| Upper front | Closed, maximum-open and adjustment | Ceiling, bulkhead, lighting and head space |
Before production, attach the hinge and runner references to the opening overlay and confirm that front thickness, overlay and stops match the drawing. Blum's hinge-system planning information shows that assembly and removal space varies with opening angle, front thickness and hinge type. Keep those values tied to the exact selected component.
Use the VSME kitchen cabinet range to identify the front and cabinet family, then coordinate the movement overlay with the existing kitchen island interface guide. When risk is high, verify one representative corner, wall-side unit or opposing-drawer condition physically before releasing the complete run.
Send the plan, front elevation, hardware references and appliance drawings together. Ask for four opening states and an intersection register before approving fillers, hinge drilling or drawer lengths.
Related guide: Who we are, our minimum order and lead time: VSME company facts.