
Good under sink cabinet leak protection makes the first drip easier to find, not easier to hide. Map the supply, faucet, drain, filter and appliance connections; keep the shutoffs reachable; give water a visible path; and make the cabinet-floor protection removable so the space can be inspected and dried.
A sink cabinet can look perfect from the room while its highest-risk connections remain behind cleaning products, drawer sides and a closed pair of doors. The decision that matters is not whether a liner sounds waterproof. It is where water goes during the first minute of a small leak and what a person can remove during the first hour.
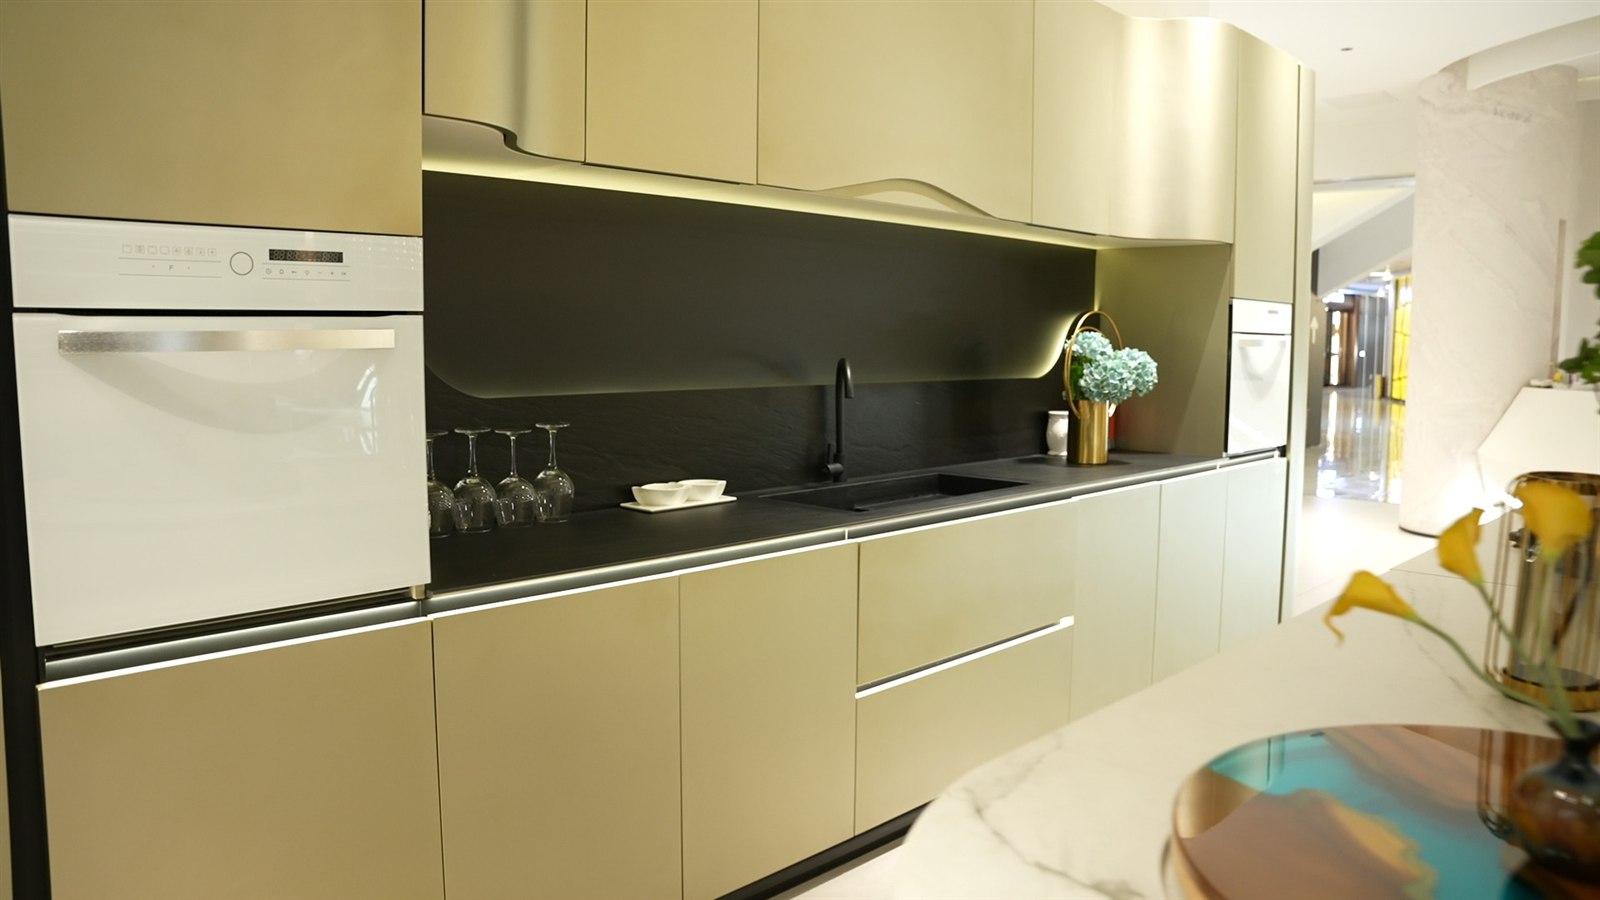
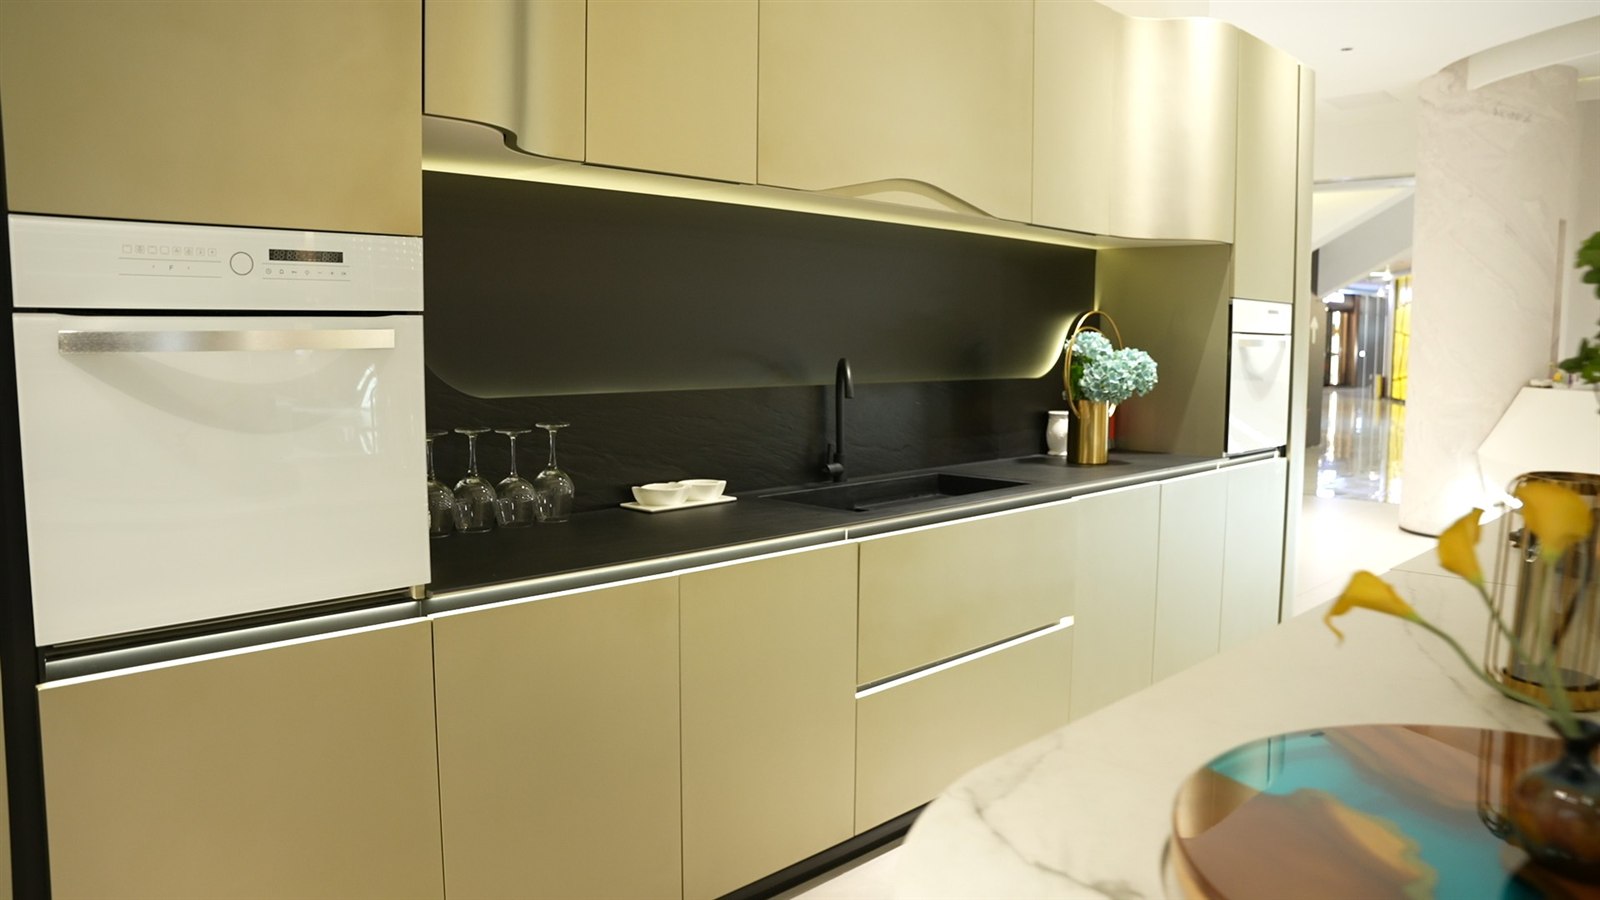
VSME showroom video frame. The sink location and closed cabinet fronts are directly visible; the photograph does not show the plumbing, internal cabinet layout, leak protection or a water test.
The showroom photograph is useful precisely because it cannot answer the service questions. A finished door line hides the trap, supply valves, faucet hoses and cabinet floor. Ask for a second drawing that removes the fronts and overlays every plumbing component, drawer side, shelf, waste bin and stored-item zone. If the internal elevation is blank, the cabinet is not ready for a serviceability review.
The exact sink must also be frozen before the cabinet internals. A current KOHLER sink installation guide coordinates cabinet and support-frame construction with clearance for the basin and faucet assemblies. Its dimensions belong to that sink system, not every project. The transferable rule is to coordinate the selected fixture, support, faucet and cabinet as one interface before cutting parts.
Do not label one cloud on the drawing as possible leak. Mark the hot and cold shutoffs, supply-line joints, faucet body and pull-out hose, sink rim or seal, strainer, trap, dishwasher branch, waste disposer, filter head and every push-fit or threaded connection. Then add the state in which each source becomes active: continuously pressurised, only while the faucet runs, only while the basin drains, or only while an appliance discharges.
Moen under-sink troubleshooting makes this distinction concrete. It separates leaks that continue around shutoffs and supply lines from leaks that appear after faucet use around the hose-connection cluster. That does not diagnose another brand automatically. It shows why the owner needs a source map and a repeatable observation sequence instead of a vague instruction to check under the sink.
A raised tray can protect the cabinet floor yet delay detection if its front edge and stored bottles conceal the water. A flat liner can protect a finish but allow water to reach an unsealed penetration. A drain opening can become another uncontrolled path. Choose deliberately: a shallow removable surface that is inspected, a formed tray that directs excess water to a visible front point, or an electronic sensor positioned at the expected low point. The project record must state the chosen behaviour rather than using the word waterproof.
Counterexample: a deep tray is fitted neatly inside the cabinet and then filled with opaque cleaning bottles. A slow supply-line leak accumulates behind the bottles without reaching the room. The tray reduced early contact with the cabinet floor but also removed the first visible warning. Containment and detection solved different problems, and only one was addressed.
A Häfele cut-to-size sink-cabinet protector is evidence that the protected floor surface can be specified as a separate component. It is not evidence that every cut edge, pipe penetration or cabinet joint becomes watertight. Record the actual accessory, its fitted limits and the location where water should become visible.
The user should be able to reach both shutoffs without unloading an entire cabinet or removing a fixed shelf. Keep valve handles clear of drawer backs and pull-out frames. Provide a removable back section or defined opening where the wall connections require it, but do not leave an oversized unsealed hole that allows water to disappear behind the cabinet. A photograph of the finished front cannot verify any of these conditions.
Storage can still wrap around the plumbing when the selected hardware is planned for it. Blum publishes dedicated wraparound sink-drawer assembly information, demonstrating that the centre void, side storage and drawer movement are a specific application rather than an improvised notch. Use only the dimensions and load information for the selected system. Before approval, draw the trap, hoses and shutoff operating envelope together with the full drawer travel and removal path.
Moisture response starts after the water is stopped. The US EPA moisture guide advises correcting the moisture source and drying wet or damp materials quickly, generally within 24–48 hours. UK government damp and mould guidance likewise says leaking pipes should be repaired and water-damaged materials that cannot be cleaned and completely dried may need removal. These are building-health principles, not cabinet material warranties. They support a simple design question: can the lowest layer be lifted, inspected on both sides and replaced without dismantling the entire cabinet?
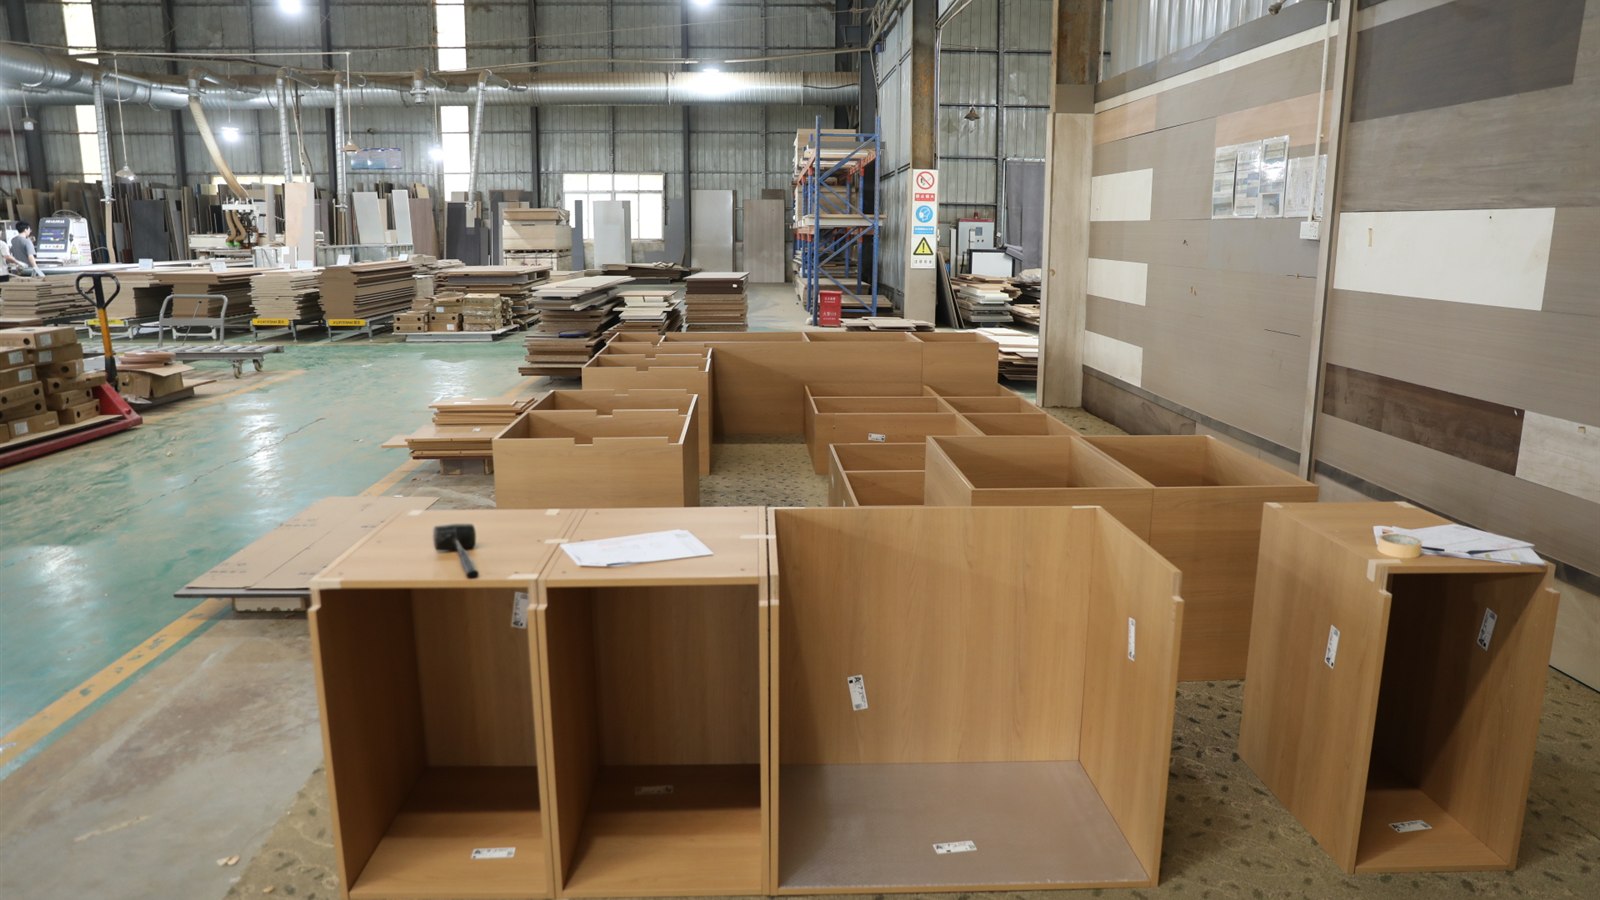
User-owned VSME factory photograph. Open cabinet boxes and their floor panels are visible before doors, worktops and plumbing. The image does not identify a sink cabinet or prove moisture resistance, waterproofing or test performance.
The factory photograph shows the moment when the box and its floor are still accessible. That is when the drawing can separate a structural cabinet bottom from a replaceable protective surface, locate service openings and label the sink-base module. Once the worktop, sink and plumbing are installed, the same change becomes slower and more disruptive.
Attach this record to the sink-base internal elevation. Product selections and dimensions remain project-specific.
| Line | Record before production | Approval evidence |
|---|---|---|
| Source map | Every supply, faucet, drain, filter and appliance connection plus active state | Fixture schedule and internal elevation |
| First-visible surface | Expected low point and the place water becomes visible | Section through liner, tray or sensor |
| Shutoff access | Clear hand path and valve operating envelope | Front-off service view |
| Protected layer | Exact removable liner or tray, fitted edge and penetration limits | Approved component and fitted detail |
| Drying route | Parts removed first and surfaces exposed for inspection and air movement | Removal sequence |
| Commissioning test | Connection-by-connection visual check in the relevant operating states | Installer sign-off and owner handover |
After installation, inspect each connection while it is active, dry the cabinet floor, then repeat the check with the storage and drawers fitted. Confirm that shutoffs still operate and that the liner, tray or sensor can still be reached. Photograph the dry baseline and hand the owner a simple source map. This is not a substitute for the plumbing professional's tests or destination rules; it is the cabinet handover that keeps the designed access from being lost.
Use the VSME kitchen cabinet range to identify the sink-base family and finish, then add the moisture-sensitive surfaces to the existing cabinet finish sample approval record. The quotation should state what the cabinet supplier provides, what the plumber installs and who performs the final wet-service check.
Send the sink, faucet, waste kit and appliance schedule with the cabinet enquiry. Ask for the front-off internal elevation and mark the first-visible surface, both shutoffs, removable protective layer and post-installation test before approving production.
Related guide: Who we are, our minimum order and lead time: VSME company facts.