
A cabinet scribe filler is not leftover space. It is a deliberate interface between a controlled cabinet module and a wall that may lean, bow or meet the run at an imperfect angle. Record the wall deviation, the clearance needed for doors and drawers, the visible finish and the material available for site trimming before the cabinet widths are released.
A room can measure 3,600 mm from wall to wall and still fail a cabinet installation. One wall may move inward between floor and worktop, a corner may not be square, plaster may build out around a column, or a handle may strike the wall before a drawer reaches full extension. If the drawing shows only a total width, the missing information is pushed onto the installer.
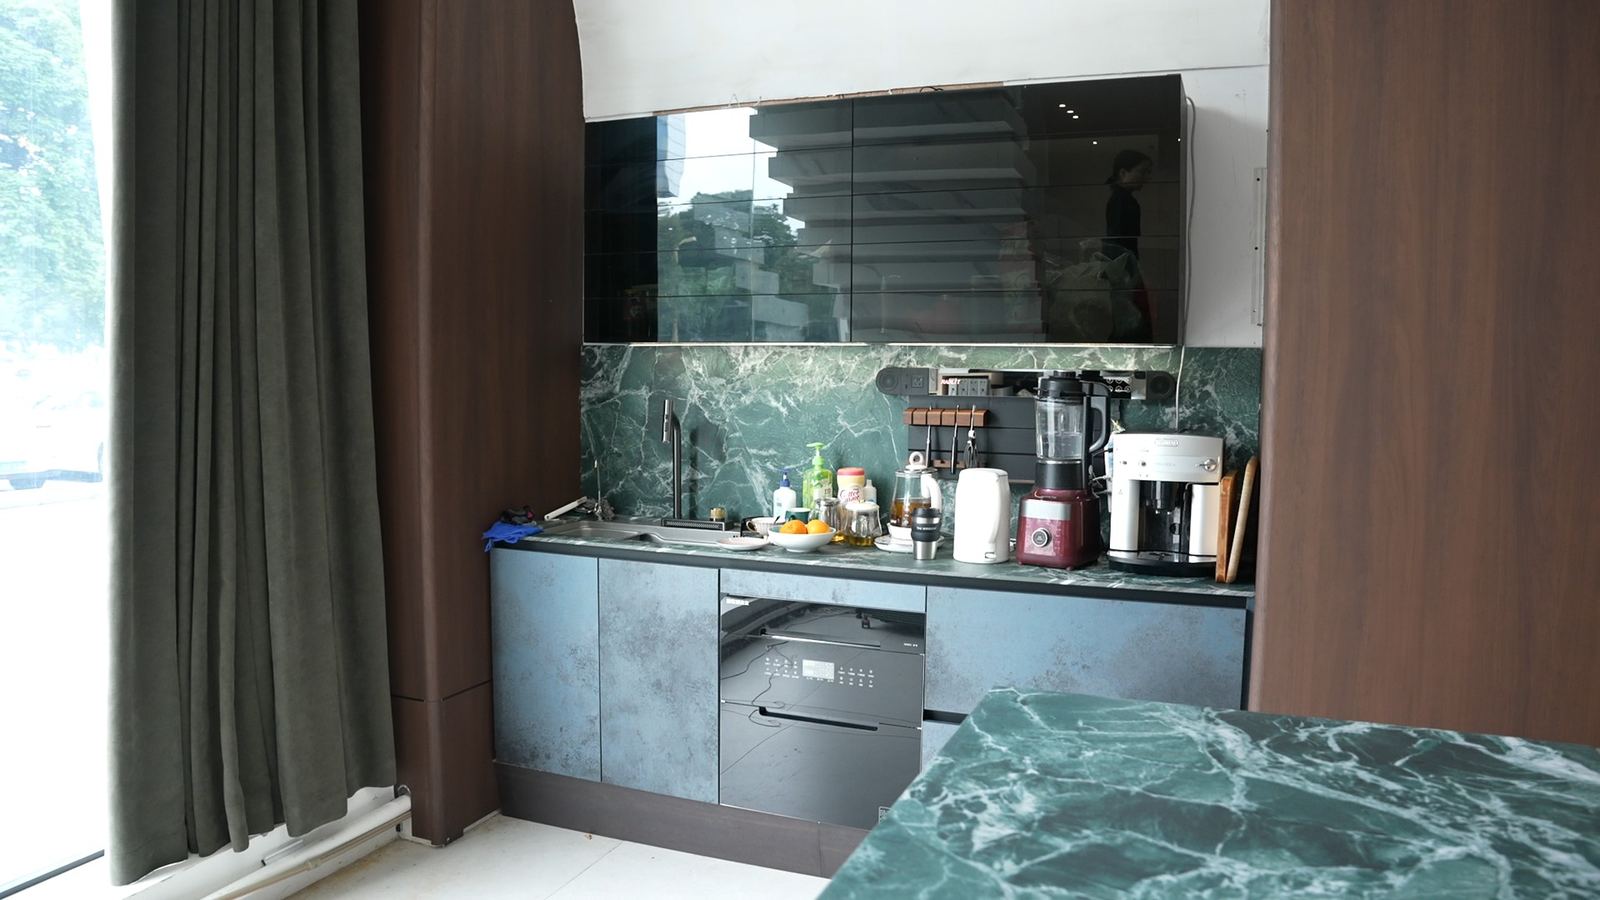
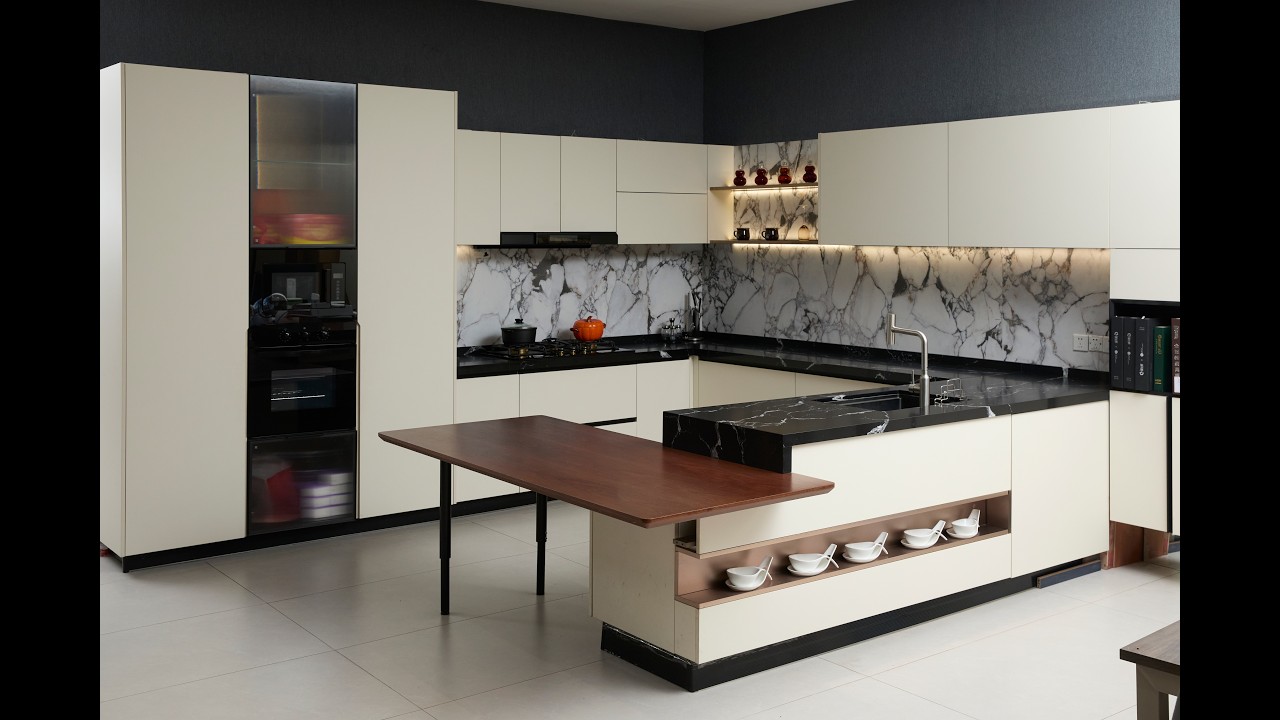
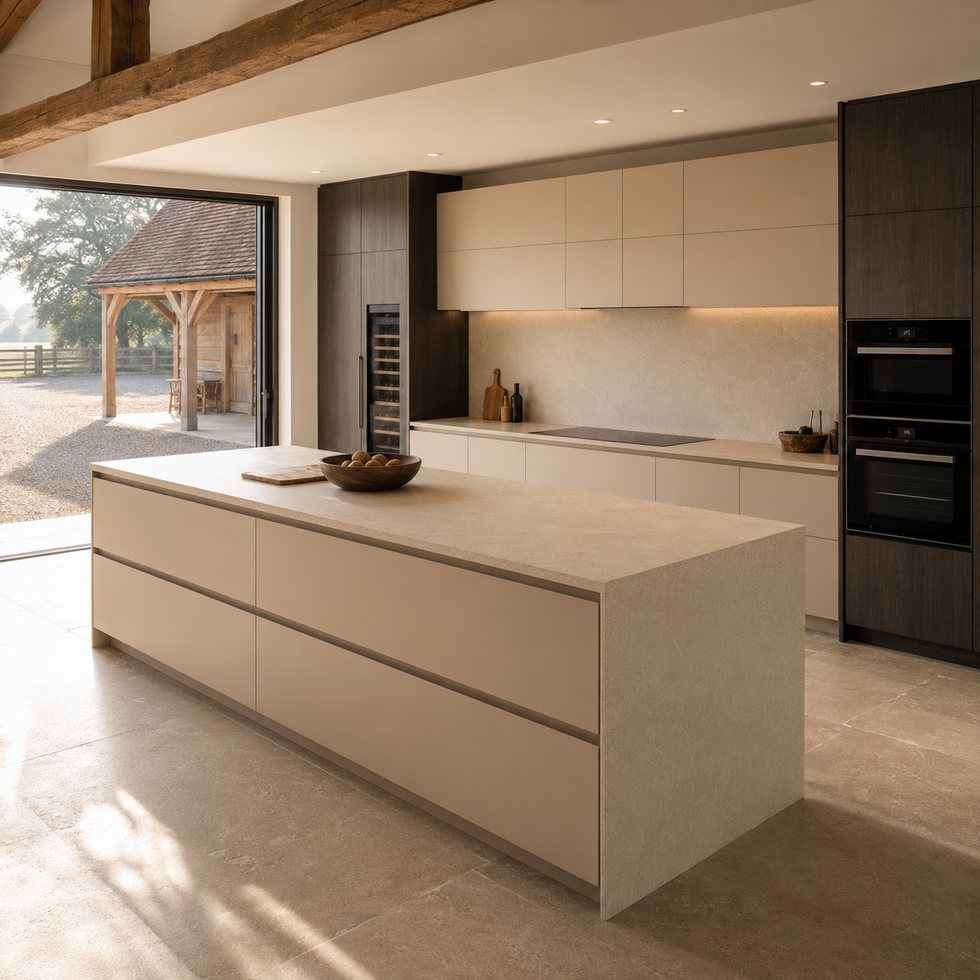
VSME showroom image. The full-height side treatments make the end of the cabinet composition visible, but this photograph is not a measured site survey and does not prove that a particular scribe detail was used.
The cabinet box, door, exposed end panel and wall-closing piece do different jobs. The box carries shelves and hardware. The exposed end controls the intended colour, texture and door relationship. The filler or scribe piece absorbs the final wall shape. Combining all three into one oversized side panel makes it difficult to state what the factory controls and what the installer may cut.
ANSI/AWI architectural wood casework requirements identify integral scribes, scribe fillers and scribe mouldings as ways to resolve voids between casework and finished walls or ceilings. The useful project lesson is not to copy one standard detail into every kitchen. It is to name the interface part on the drawing instead of letting a nominal cabinet dimension conceal it.
Record the gap at several heights and depths: floor level, cabinet top, worktop line and the front plane of the door. Mark skirting, tile, architrave, window trim, radiators and wall outlets that project into the opening envelope. For a tall run, also record the ceiling junction and whether the wall or ceiling finish will be complete before installation.
The current IKEA kitchen installation guide separates a straight-wall measurement from an uneven-wall tracing process: the wall shape is transferred to a separate filler piece before cutting. A 2026 Howdens installation manual likewise sequences corner position, levelling and wall fixing before the whole cabinet run is locked. These are product-system instructions, not universal dimensions; they show why the installer needs the real wall condition before final adjustment.
A narrow reveal may look refined while the fronts are closed, yet stop a handle, drawer box, pull-out basket or refrigerator door when opened. Draw at least the closed state, 90-degree state and maximum service state. Include handle projection, front thickness, hinge geometry and any object fixed to the wall ahead of the cabinet face.
ANSI/AWI 0620-2024 explicitly allows an inside-corner filler to be wider when hardware clearance requires it. The number in that standard is not a substitute for the selected hinge and handle. It confirms the principle: functional movement can control filler width. A corner that looks symmetrical on elevation may need an unequal concealed allowance to operate correctly.
Counterexample: a designer reduces a planned 45 mm wall-side filler to 15 mm after seeing the rendered front. The closed elevation improves, but the adjacent wide drawer handle reaches the wall before the drawer opens far enough to remove its inner tray. The drawing solved the static gap and lost the usable cabinet.
Site variation should not silently change every cabinet width. Keep the module schedule tied to appliance openings, drawer hardware, shelf spans and door proportions. Place the variable part at the agreed perimeter unless the designer intentionally revises the entire run. This preserves cabinet identity from drawing to machining, labelling, pre-assembly and installation.
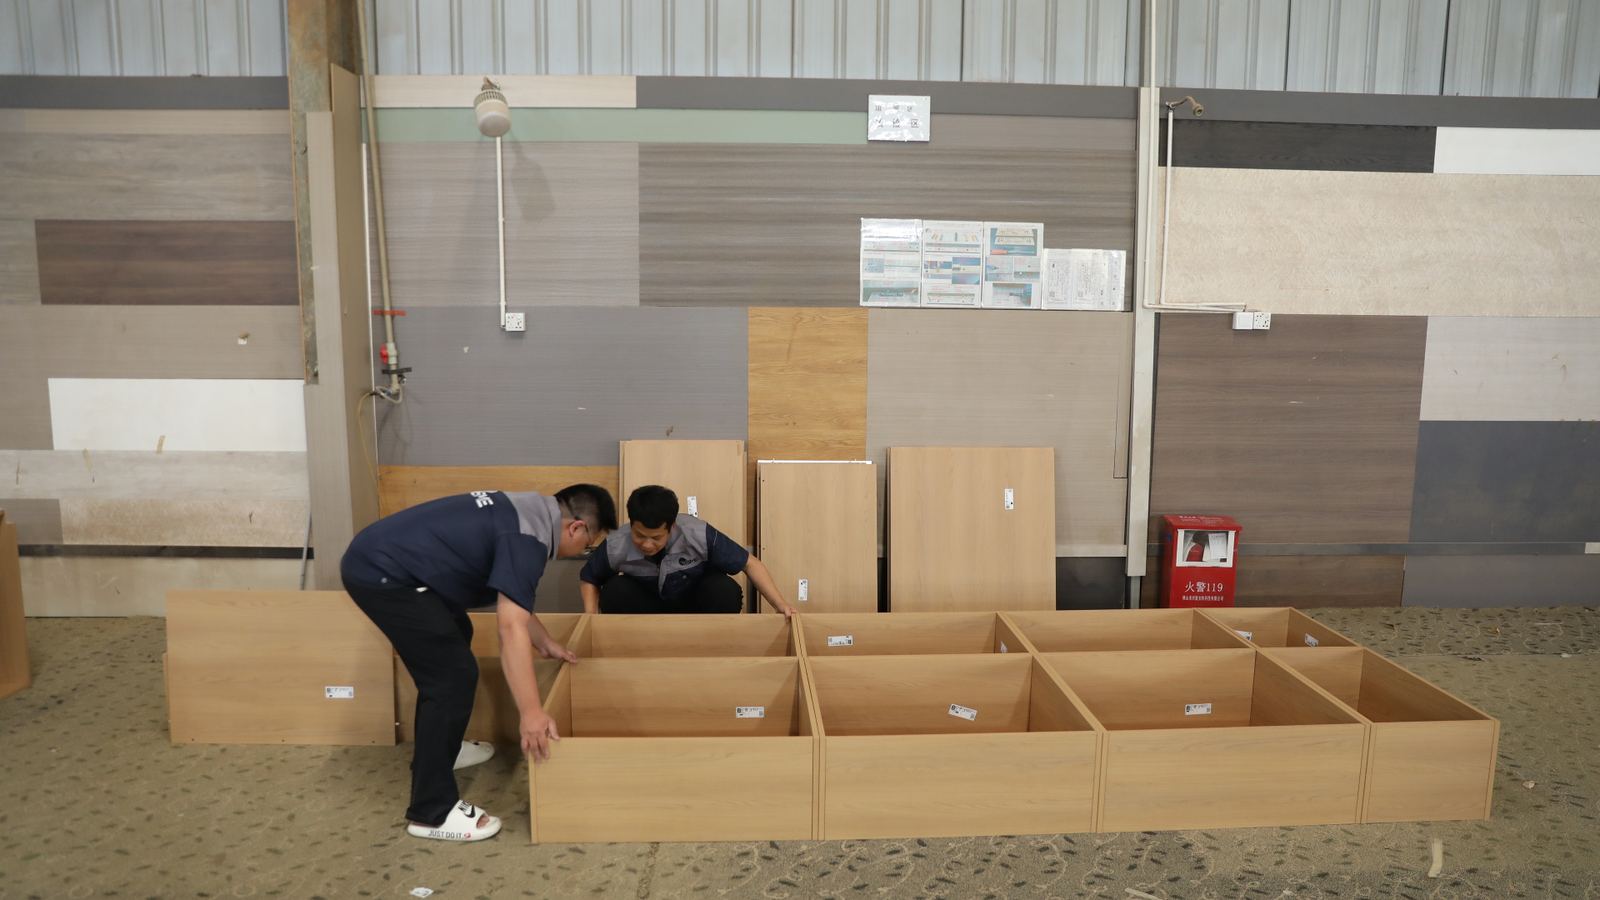
User-owned VSME factory photograph. Labelled cabinet boxes are visibly arranged in groups during production. The image supports discussion of module identity; it does not verify squareness, dimensions or the wall condition of a specific project.
The photo matters because the buyer is not ordering an anonymous length of furniture. Each box will carry hardware and connect to neighbouring parts. A wall-side adjustment that is not isolated can disturb several module relationships at once.
Attach this record to the room elevation and survey revision. Values are project inputs, not standard defaults.
| Line | Record before production | Approval evidence |
|---|---|---|
| Wall deviation | Gap readings by height/depth, corner angle and projecting finishes | Dated survey or scan section |
| Functional clearance | Door, drawer, handle, appliance and removable-part envelope | Opening overlay tied to hardware |
| Visible finish | Flush or recessed reveal, colour, grain direction and edge treatment | Approved elevation and sample ID |
| Trim allowance | Supplied width, minimum retained face and permitted cut edge | Installer handoff and sign-off |
The factory can supply the identified filler material, finish the visible edge, preserve grain direction and label the part to a room and elevation. The site installer can confirm the completed wall, transfer its profile, trim the permitted edge, fix the filler and maintain the approved reveal. The designer or buyer must decide what happens when the measured deviation exceeds the reserved allowance.
An American Woodmark installation guide treats fillers as separate components for odd run-to-wall dimensions and operating clearance at blind corners, with trimming, cabinet attachment and backing for wider pieces. Its fasteners and dimensions belong to that cabinet system. The transferable point is the responsibility chain: measure, trim, support and attach the filler without using it to disguise an unsupported or misaligned cabinet.
Review base, wall and tall cabinets together. A filler that aligns with the cabinet box may look wrong beside an overlay door; a part that matches the door face may need a return or shadow gap at the worktop and plinth. Continue grain and sheen only when the supplied material and sample allow it. State whether sealant is a finishing joint or only a final hairline seal—never the primary solution to a large, changing gap.
Use the VSME kitchen cabinet range to identify the cabinet family, then add the wall-interface record to the existing kitchen cabinet RFQ checklist. The quotation should show the supplied filler, finish, edge preparation and site-trim responsibility instead of burying them under general installation wording.
Send the wall survey, opening-envelope overlay, finish sample and permitted trim allowance with the cabinet enquiry. Ask the supplier and installer to mark exactly where factory control ends and site fitting begins.
Related guide: Who we are, our minimum order and lead time: VSME company facts.